Building the Canoe
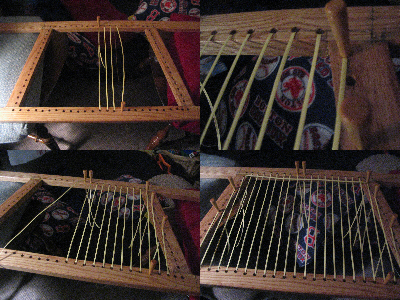
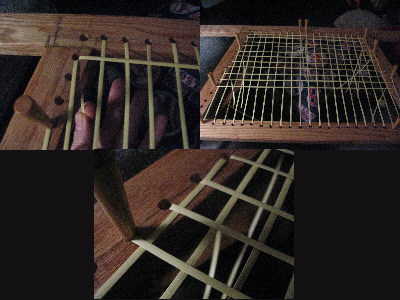
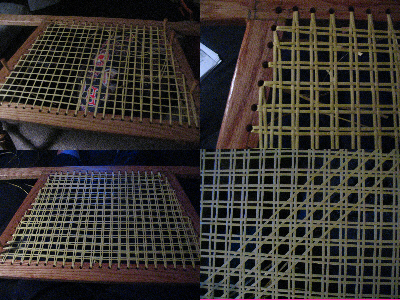
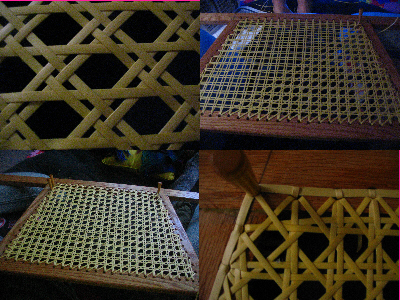
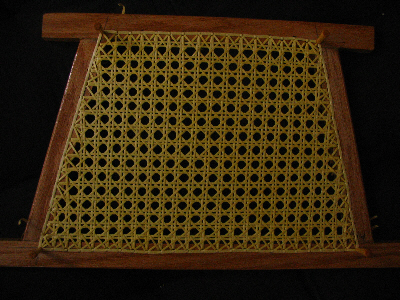
 I have begun work again on the canoe. I finished the frames for the seats awhile ago and this weekend I plotted out the holes to be drilled in each through which to weave the cane. Now I need to rasp the hard edges, sand and varnish them and then I can begin to weave the cane. I also purchased a drill and all the screws, bolts and nuts needed to install the seats, the gunwales, the decks and the thwart.
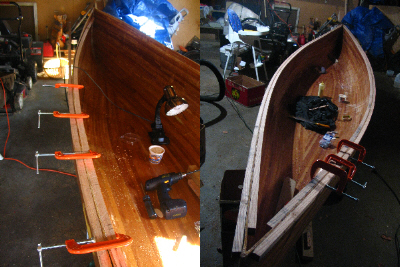 The weather here has been mild and i have been taking advantage of the warm evenings to work on the canoe in the garage. Over the course of 2 nights I clamped on the gunwales, drilled and countersunk pilot holes and screwed the gunwales to the canoe. I had a minor problem with the cordless drill I had bought running out of juice after an hour of work so I returned it and bought a golld old corded drill. I also had to exchange the screws I had bought because they were too short. Now its onto the decks and the thwarts!! The weather here has been mild and i have been taking advantage of the warm evenings to work on the canoe in the garage. Over the course of 2 nights I clamped on the gunwales, drilled and countersunk pilot holes and screwed the gunwales to the canoe. I had a minor problem with the cordless drill I had bought running out of juice after an hour of work so I returned it and bought a golld old corded drill. I also had to exchange the screws I had bought because they were too short. Now its onto the decks and the thwarts!!
 On Saturday I drove through the pouring rain to a lumberyard in Westlake where I purchased a 1"x6"x16' Oak board from which to make the gunwales. The owner was of Polish extract and spoke the language to his mates as they dug through their stock to find a board long enough. Once that was accomplished I watched them ply their trade as they ran the board through a massive planer and then cut it upon their cast-iron table saw into 6- 3/4"x3/4"x16' lengths. There was a big knot in the board so 3 of the lengths are solid, one is iffy and two will definately break where the knot is but since I only need 4 I am good to go.
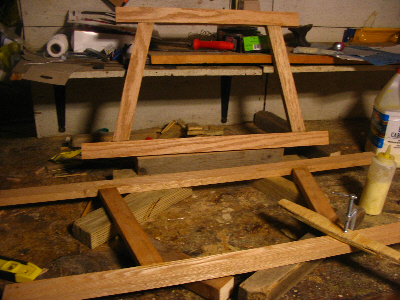 I have been slackin' on the canoe as well, not having done anything since we returned from Alaska but today I finshed up the last 2 mortise and tenon joints on the 2nd seat and glued it together. You can see the seat frames in the picture. Now I need to get a drill, make lots of holes and begin to cane the seats. I also ned to make a trip to a lumber yard and pick up a 1"x 4"x 16' piece of hard wood for the gunwales and a shorter piece for the thwart to frame up the canoe. I don't think we'll be canoing beneath the awesome autumn foilage this year :( I have been slackin' on the canoe as well, not having done anything since we returned from Alaska but today I finshed up the last 2 mortise and tenon joints on the 2nd seat and glued it together. You can see the seat frames in the picture. Now I need to get a drill, make lots of holes and begin to cane the seats. I also ned to make a trip to a lumber yard and pick up a 1"x 4"x 16' piece of hard wood for the gunwales and a shorter piece for the thwart to frame up the canoe. I don't think we'll be canoing beneath the awesome autumn foilage this year :(
|

HOME

|